So this is it...the final project. I really enjoyed this project from start to finish despite the insane amount of work we made ourselves do. An oversight we encountered was allowing one person to know the innerworkings of all the code. This caused us problems toward the end because it was Jessica, and Jessica alone who could solve those issues. She did a phenomenal job, however, and I am very proud of each and every one of us.
Sunday, July 7, 2013
Final Project Video
So this is it...the final project. I really enjoyed this project from start to finish despite the insane amount of work we made ourselves do. An oversight we encountered was allowing one person to know the innerworkings of all the code. This caused us problems toward the end because it was Jessica, and Jessica alone who could solve those issues. She did a phenomenal job, however, and I am very proud of each and every one of us.
Saturday, July 6, 2013
Interactive Children's Project Update
Vanessa's Blog has great progress photos of Josh sculpting our 3D female knight out of floral foam which he then covered in paperclay and I painted.
Interactive Children's Project Update
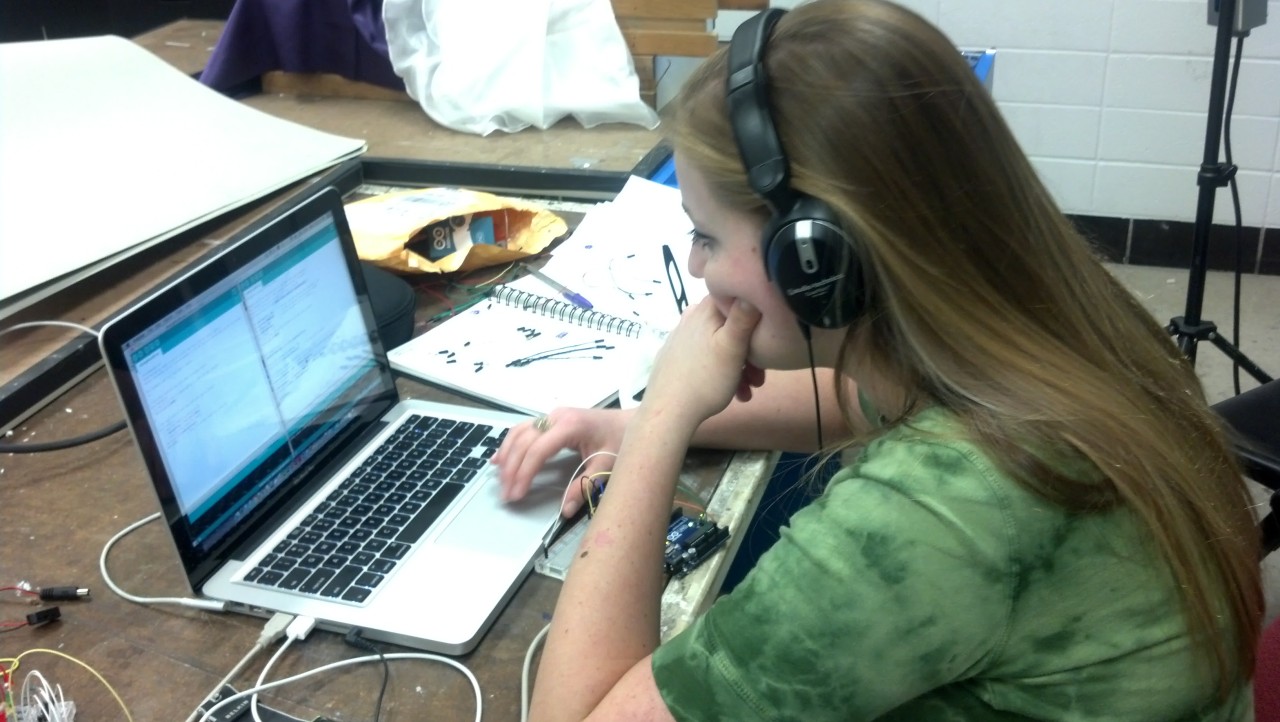
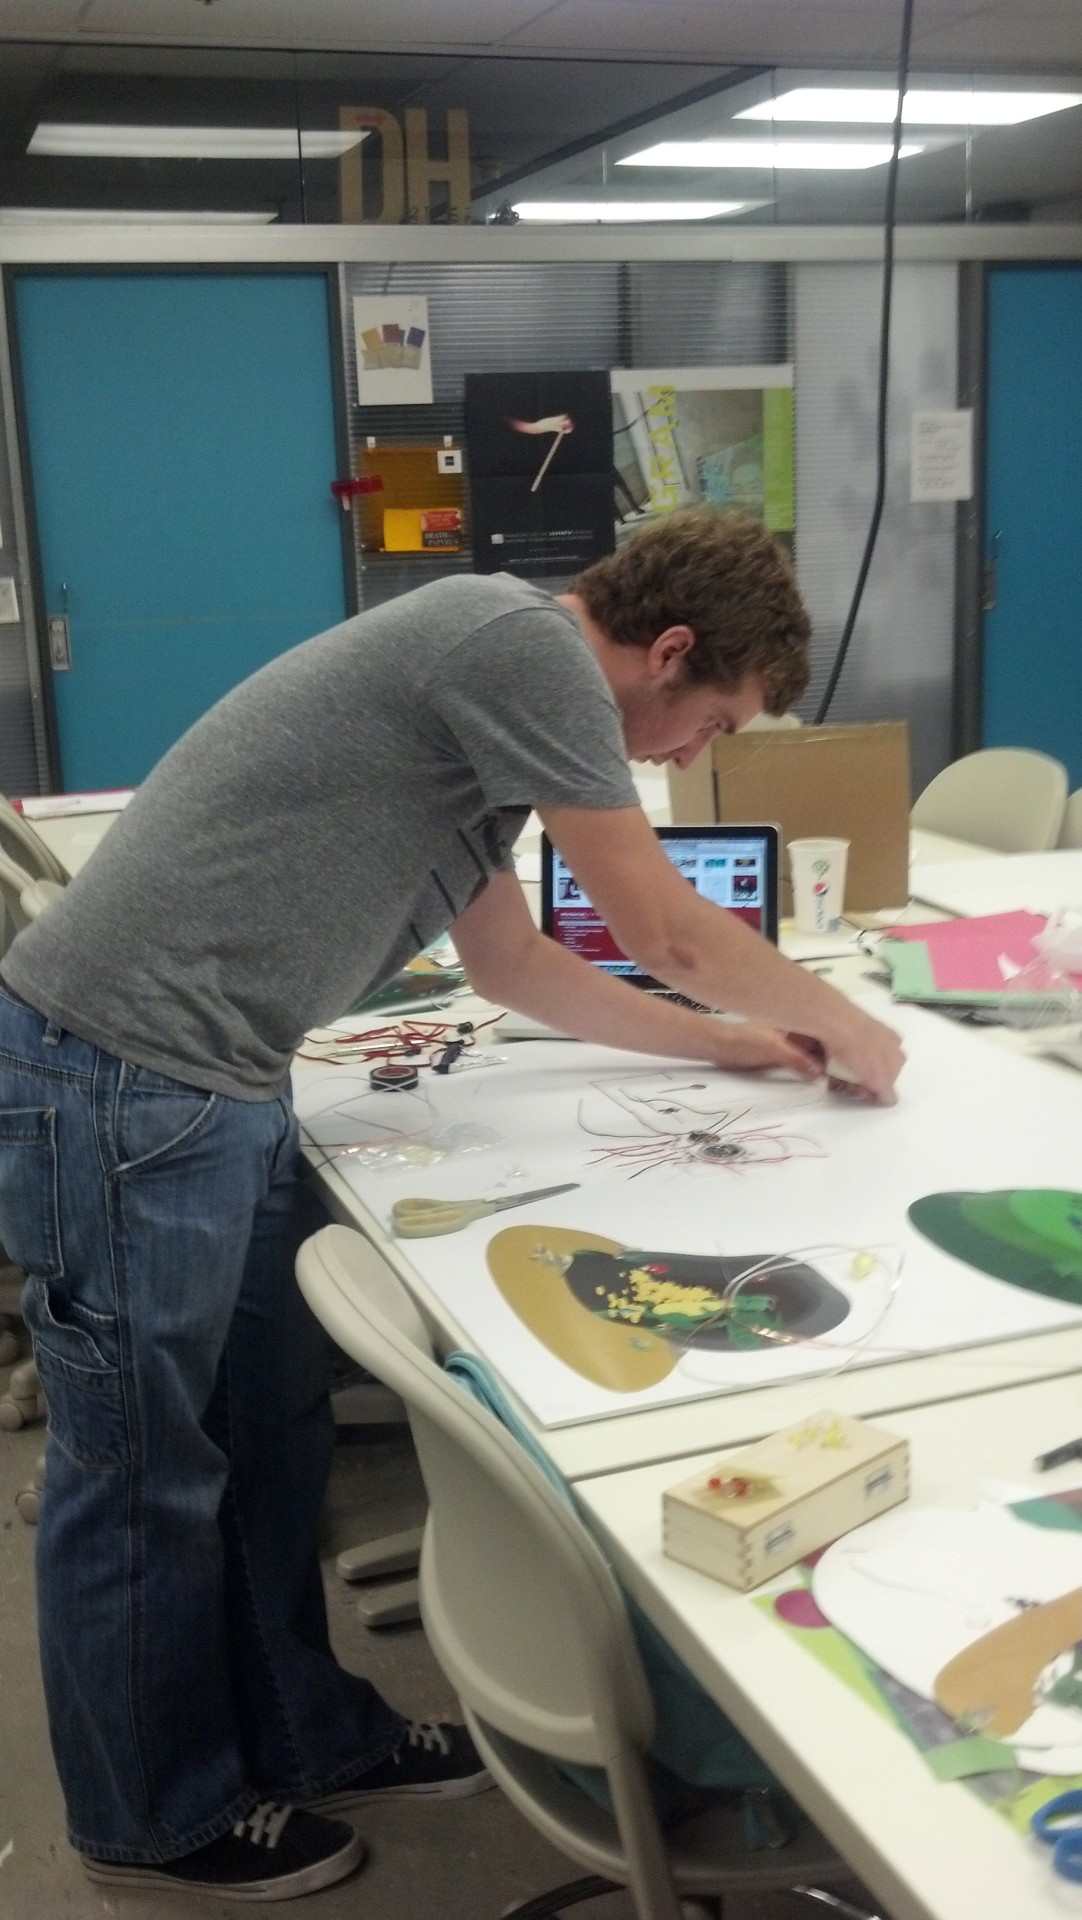
I was in charge of taking progress photos but forgot to take selfies!
Regardless, here are pictures of the rest of my group hard at work (I promise I was as well).

Interactive Children's Project Update
Josh's Blog has his sketches of the scenes we planned out to include on our board. We decided to stick with the restriction of only four scenes which would make our circuitry a lot easier to plan out. The final outcomes of the scenes were draw by Vanessa and the dragon scene was created by myself in InDesign. All of the group members had input as to the conceptualizing of the actual scenes.
Friday, July 5, 2013
Interactive Children's Project Update


.jpg)


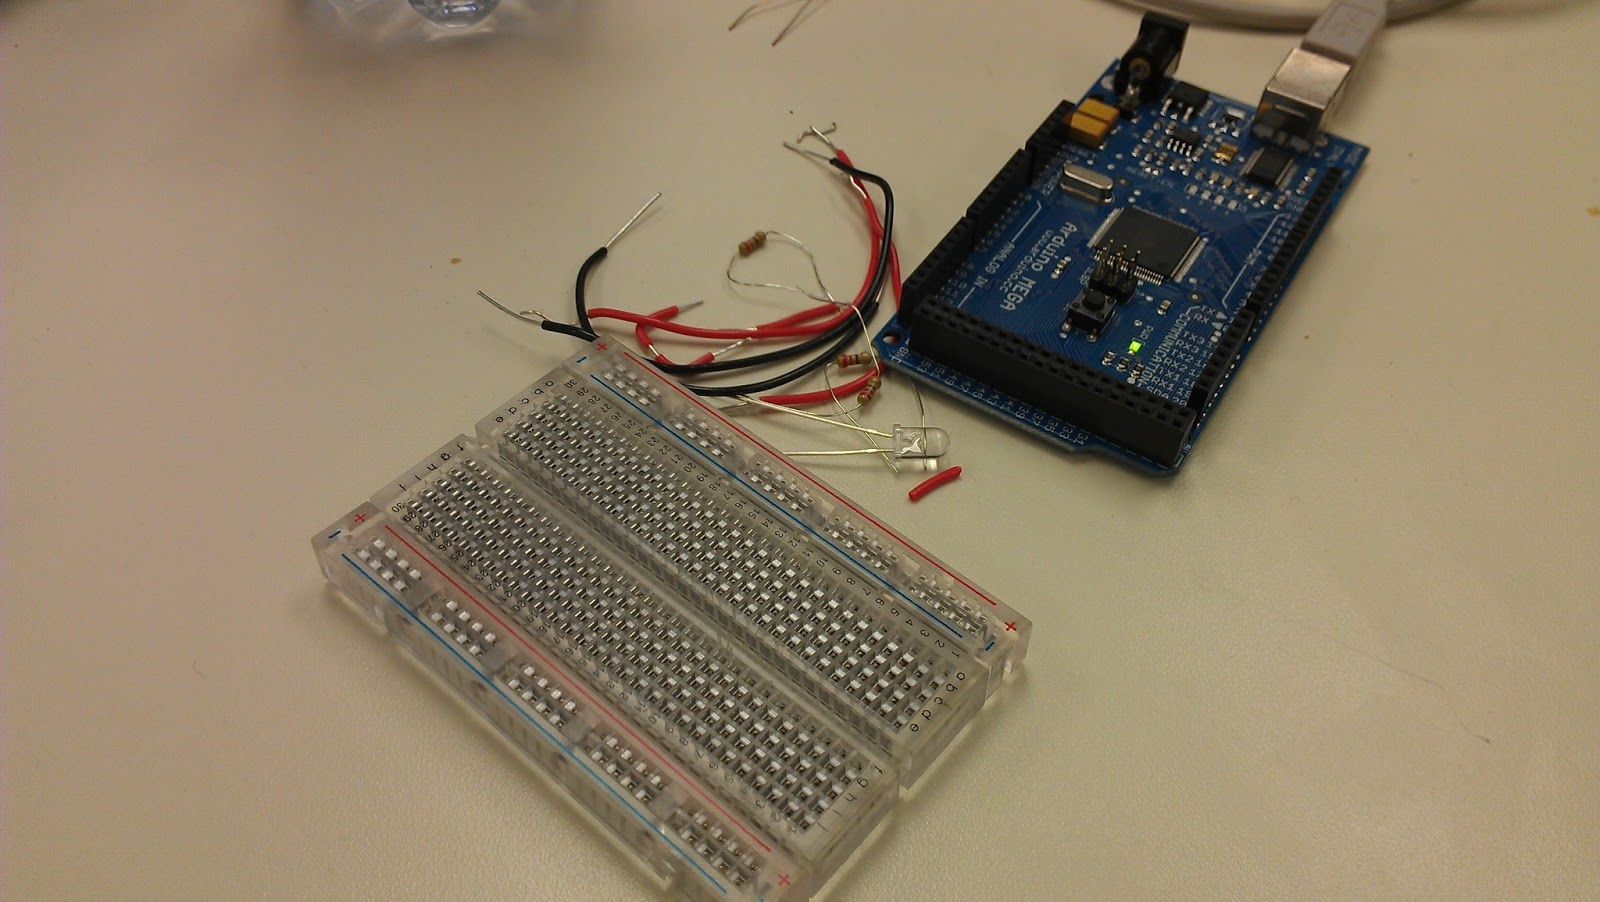
Our circuitry was really complicated and took us a while to figure out exactly how we would be able to make it work. We had initially planned to use only one lilypad arduino, then we were going to use two lilypad arduinos but decided to use one lilypad arduino and one uno arduino instead.
I sewed the connections to the lilpad arduino and josh soldered the buttons to the wires.
Tuesday, July 2, 2013


Interactive Children's Project Update: 6/29
Vanessa's blog has a video of us conducting research of pop-up books.
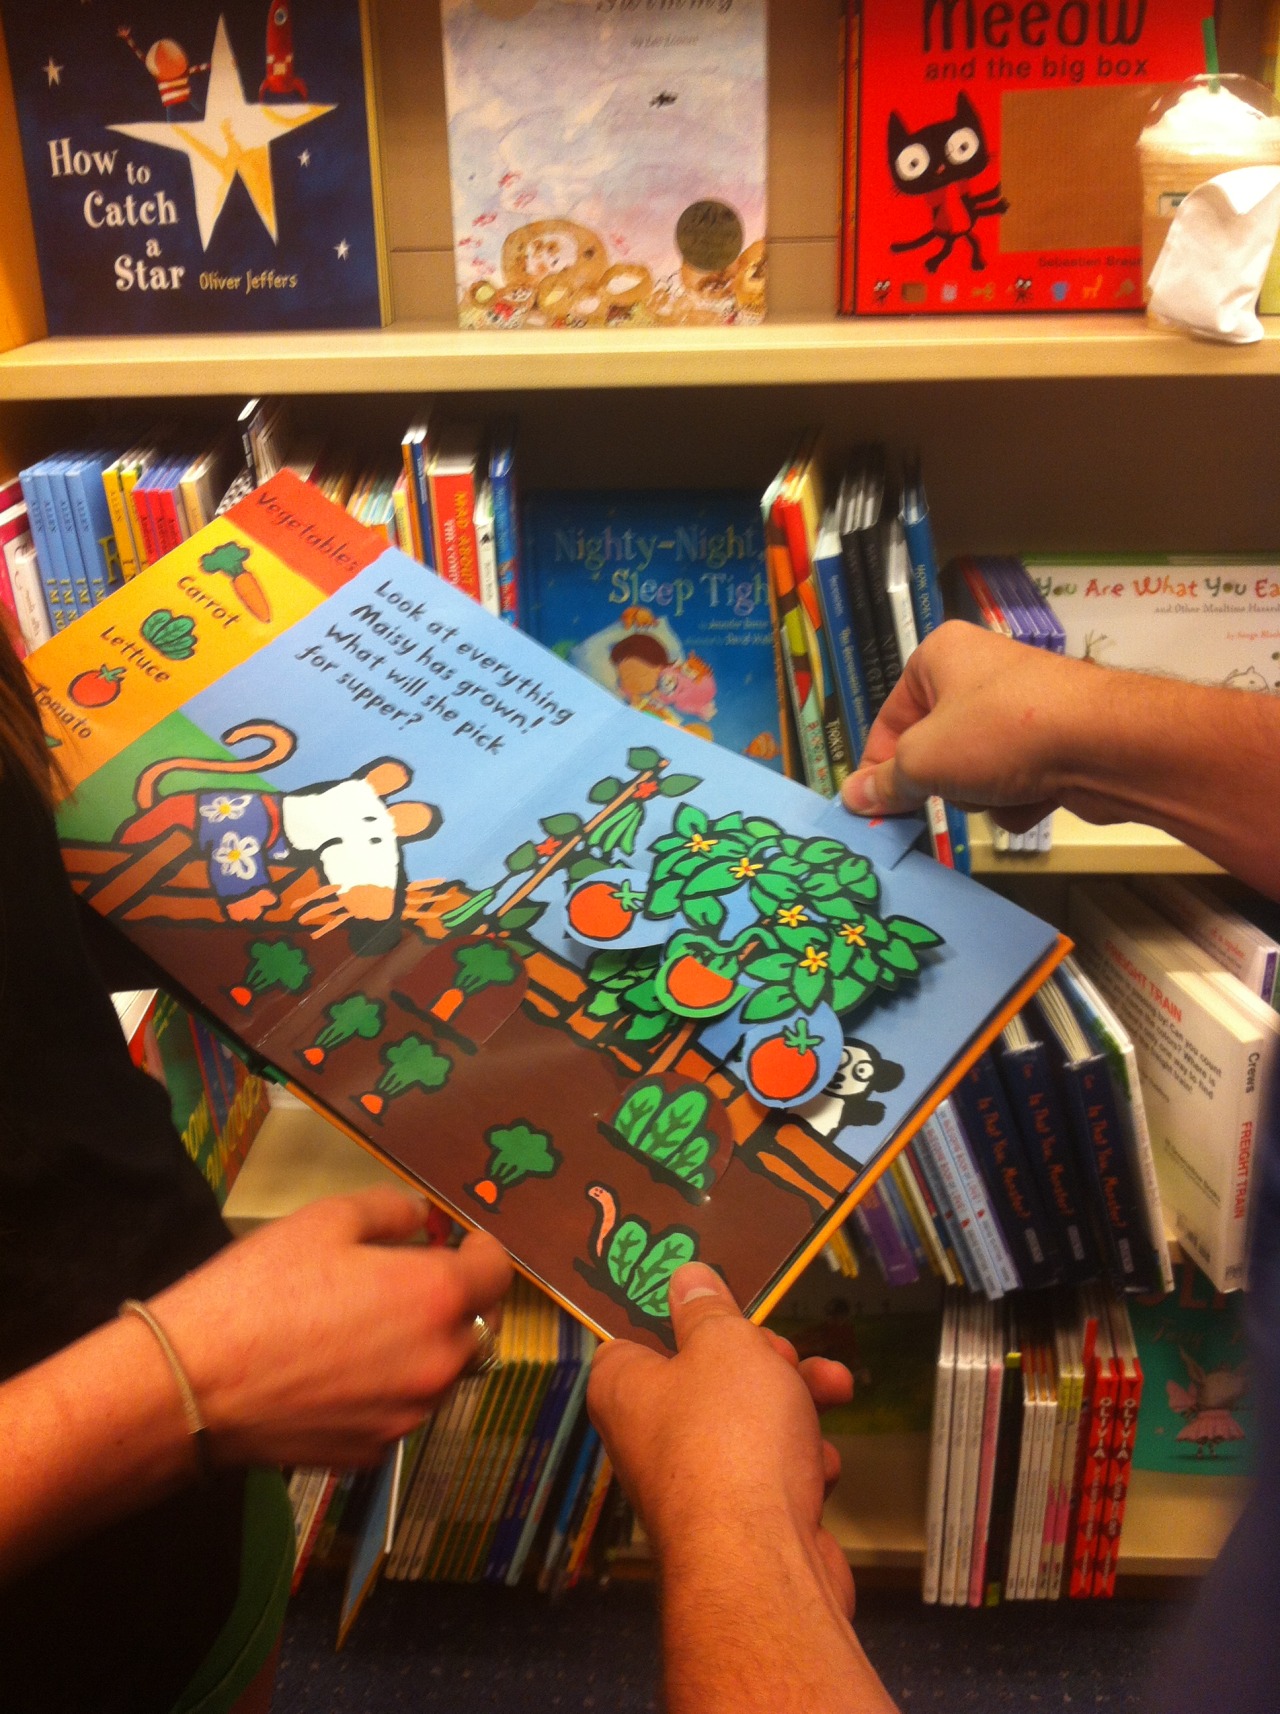
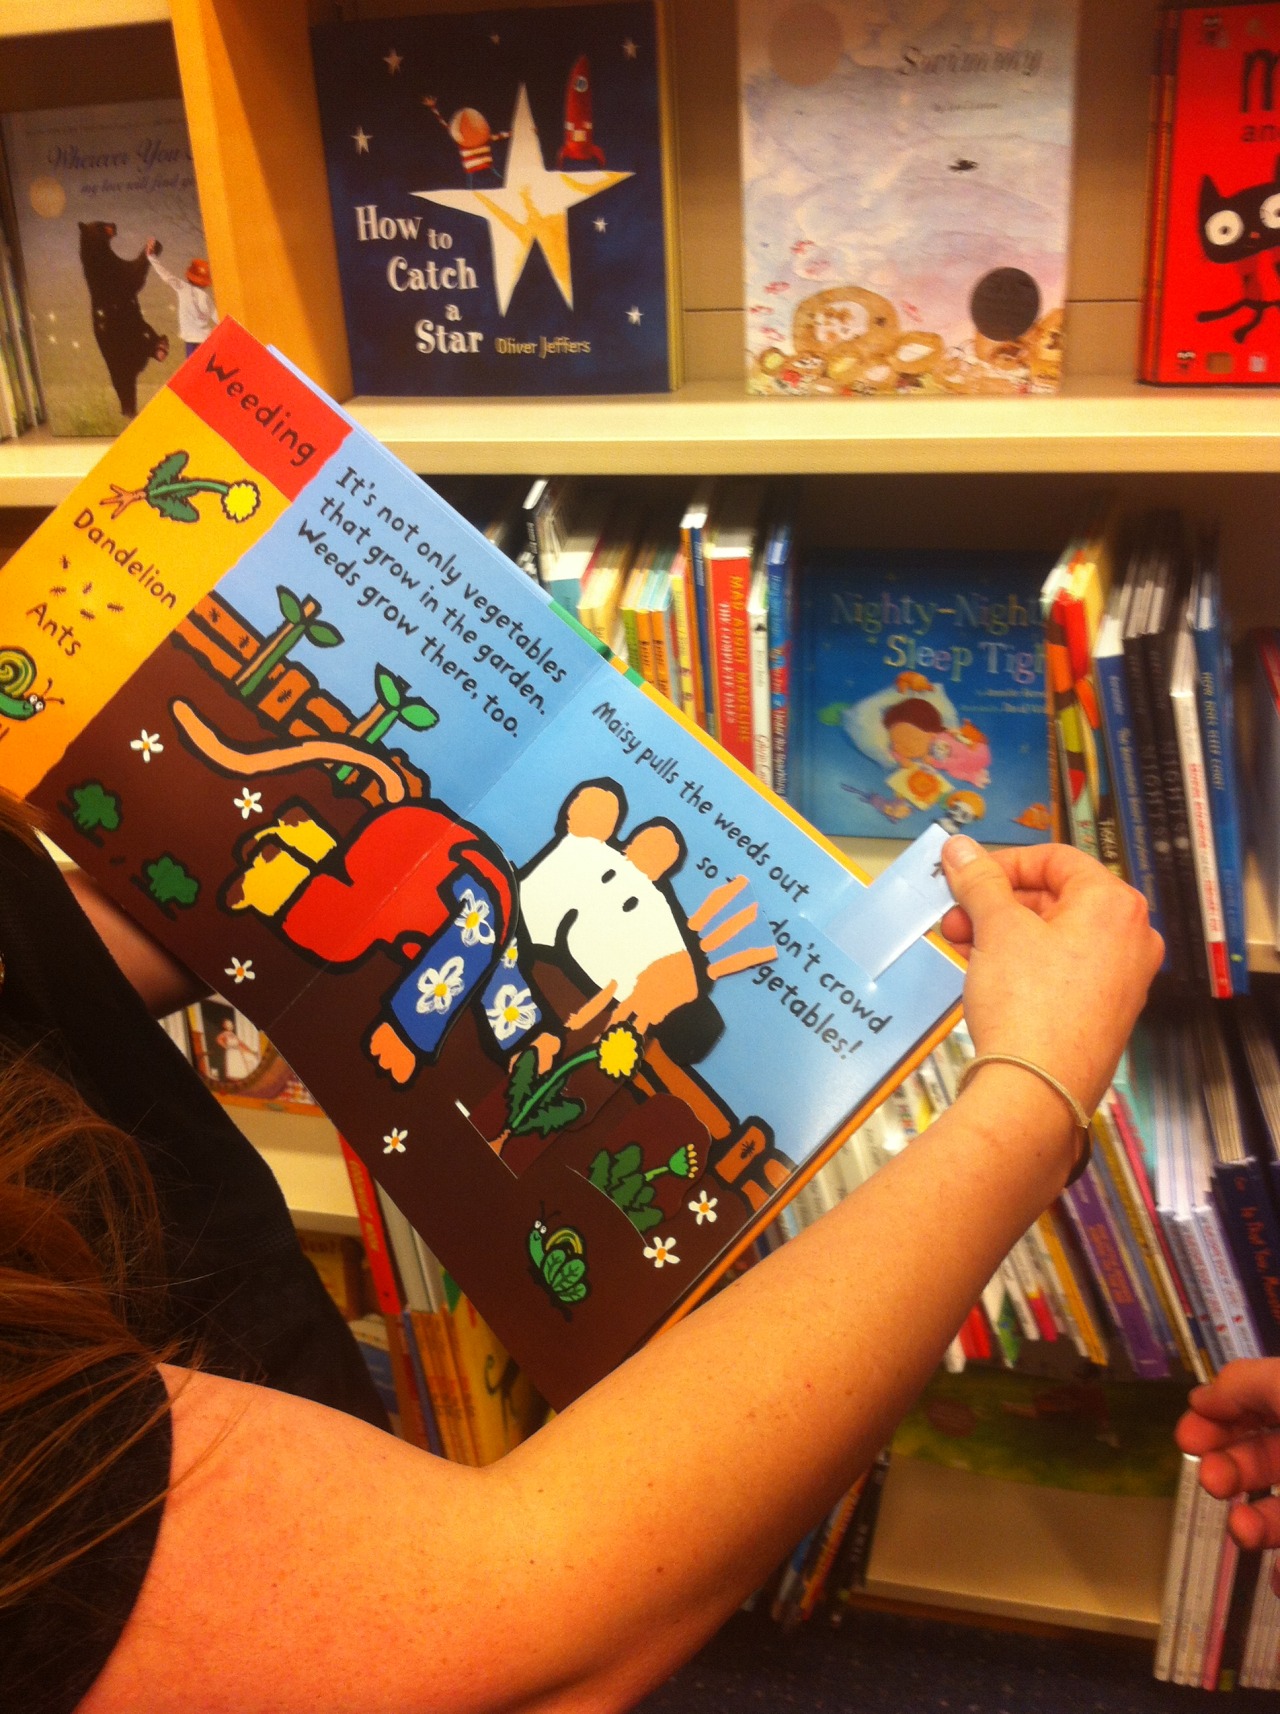 Although the books we found weren't exactly examples of the kind of interactions we wanted, nor were they in the form we ultimately decided on, we were able to gain valuable knowledge regarding the aesthetics of our board and how to make it more appealing to our target age group. The materials used in the creation of the pop up books was also indicative of how well the intended interactions were able to be carried out. Books with thinner, lesser quality paper were difficult to maneuver especially with the slide and pull tabs. Books with thicker paper or even cardboard were a lot easier to interact with and therefore more entertaining. This definitely influenced our material choices.
Interactive Children's Project Update: 6/28
We discussed our project further and realized that a story would be more restrictive to interactive experiences. Not only that, we were restricted to only 4 pages for a story which was too difficult, especially for an interactive story. We decided to go with an interactive board and stayed with the fantasy theme and a lady knight. This interactive board would be more of a "create-your-own-story" and less of a sequence of things you have to do in order to get to a certain goal.
Josh worked on designing the initial circuit with one arduino lilypad. As you can see, it was a tight fit and proved difficult to fathom how we would get two different amounts of power from one lilypad.


Josh worked on designing the initial circuit with one arduino lilypad. As you can see, it was a tight fit and proved difficult to fathom how we would get two different amounts of power from one lilypad.


Monday, July 1, 2013
Interactive Children's Project Update 6/27
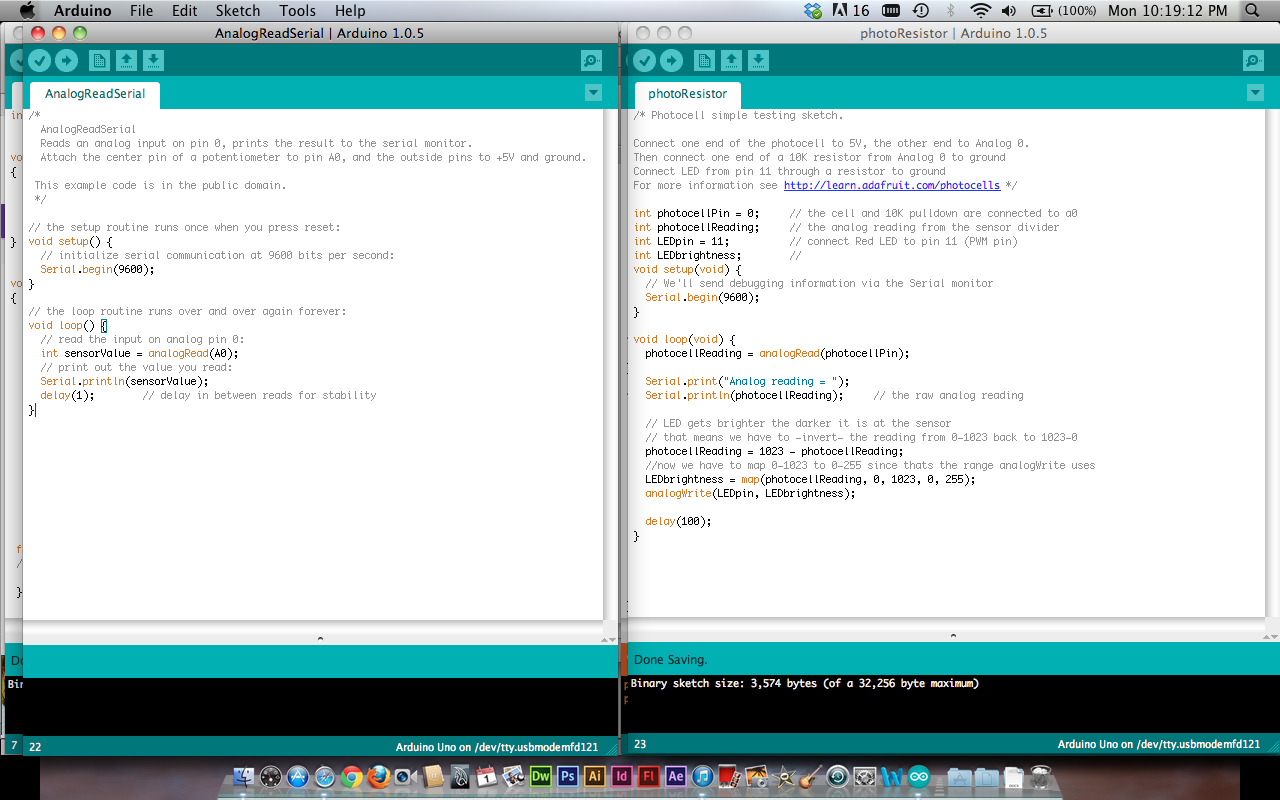
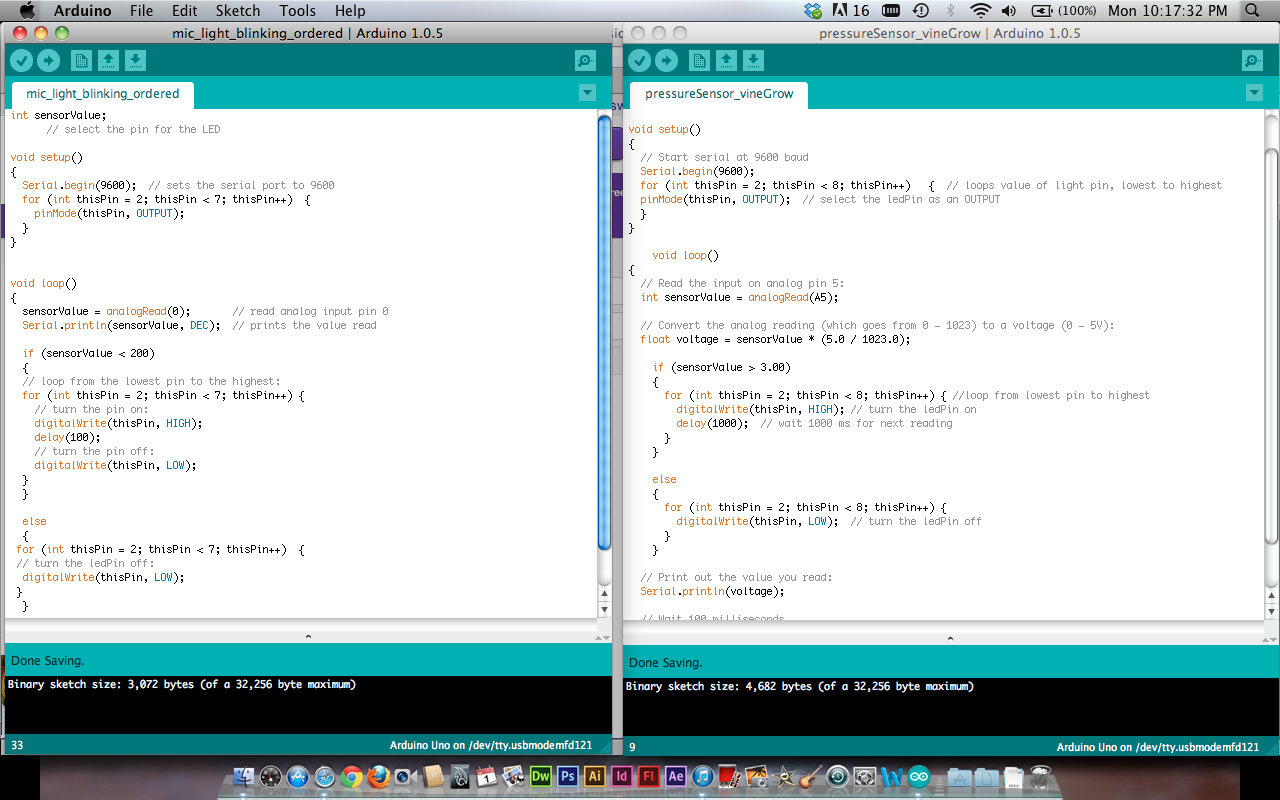
Today we worked on figuring out the programming of the microphone and photo resistor. Jessica was able to figure out how to make the photo resistor work while Josh and I had trouble figuring out the microphone programming. We also researched color schemes for our scenes.


Wednesday, June 26, 2013
Interactive Children's Project Update
Today we discussed in class our next project: an interactive children's project. We decided to go with entertainment and make a 2D storybook with a female knight who is to save a prince from his castle only to find that he's not a cool dude and rides off on a dragon in the end.
We sketched out a couple concept ideas and Vanessa posted on her blog a lot of good examples:
Vanessa's Blog
We want to possibly emulate a sort of hallmark singing/light up cards but require interactions such as sound and touch in order to progress the story and make it come alive.
an example of an interactive art book (even though it is digital, it's a good example of what we want to experiment with physically)
We sketched out a couple concept ideas and Vanessa posted on her blog a lot of good examples:
Vanessa's Blog
We want to possibly emulate a sort of hallmark singing/light up cards but require interactions such as sound and touch in order to progress the story and make it come alive.
an example of how we could program the sound and lights
an example of touch senors used on fabric as opposed to paper
Tuesday, June 25, 2013
Project 3: Assignment 2
Today we were tasked with creating a circuit and program an arduino to make something that's switch was a button clasp. We chose to make a bracelet with an LED in the middle.


Project 3: Assignment 1
Our first assignment was to not only create a parallel circuit that would light up six LEDs but to design it. We were to incorporate a sort of poetic aesthetic involving paper.
Our first attempt was not fruitful; we worked tirelessly for hours on a circuit that was not working for reasons we still could not figure out.
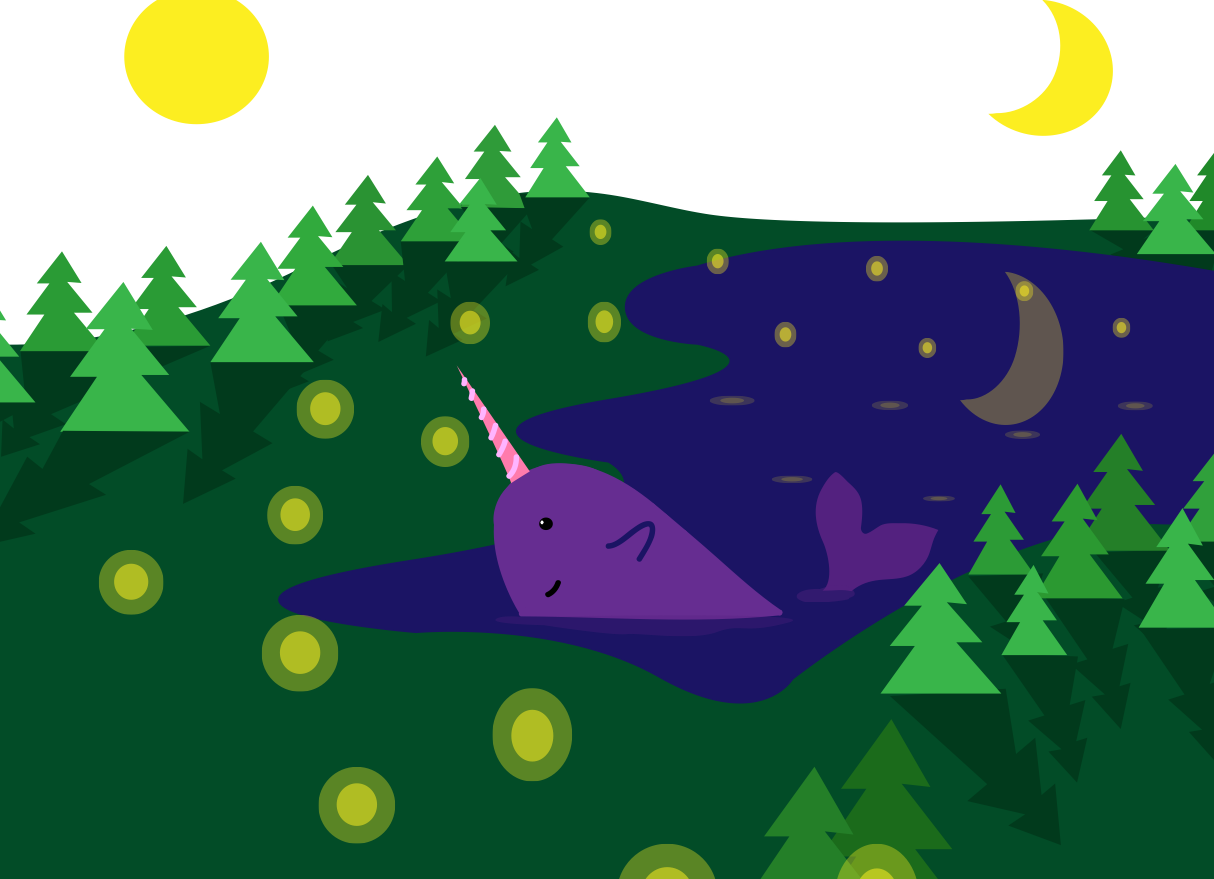
The concept was a body of water with waves and lilies that would have a boat that would house the batteries and would act as the switch when slid over .


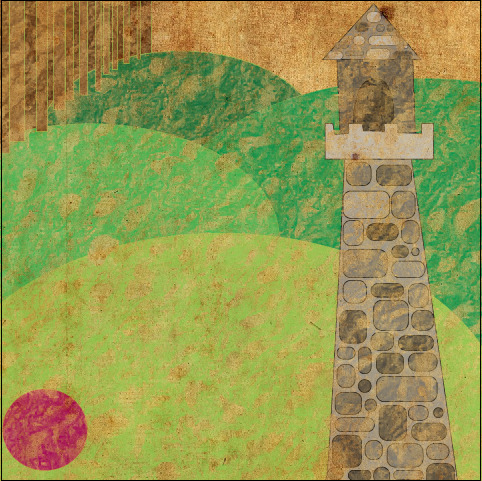
We decided to redo our concept and instead of the environment being a body of water, we made it a lawn with grass and the same lilies. The switch was a push lawn mower that also hid the batteries.


Our first attempt was not fruitful; we worked tirelessly for hours on a circuit that was not working for reasons we still could not figure out.
The concept was a body of water with waves and lilies that would have a boat that would house the batteries and would act as the switch when slid over .


We decided to redo our concept and instead of the environment being a body of water, we made it a lawn with grass and the same lilies. The switch was a push lawn mower that also hid the batteries.


Subscribe to:
Posts (Atom)